
Graphic Tutorial
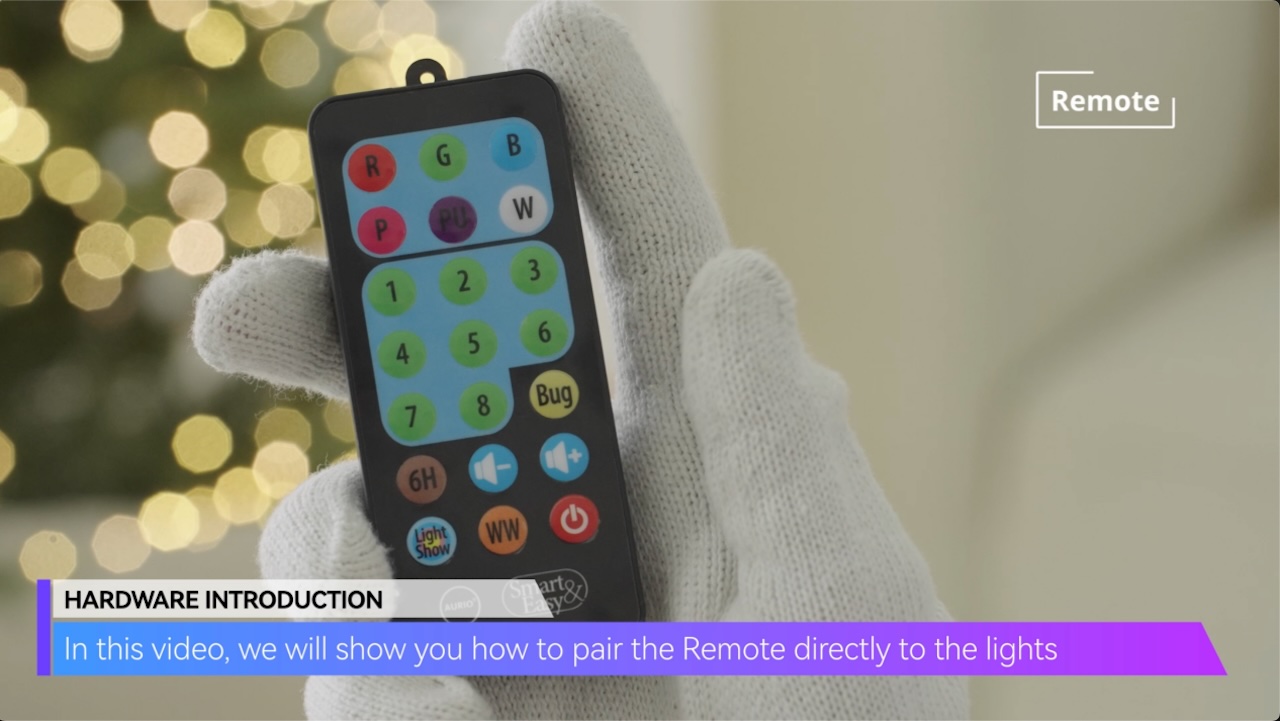
HARDWARE INTRODUCTION
In this video, we will show you how to pair the Remote directly to the lights
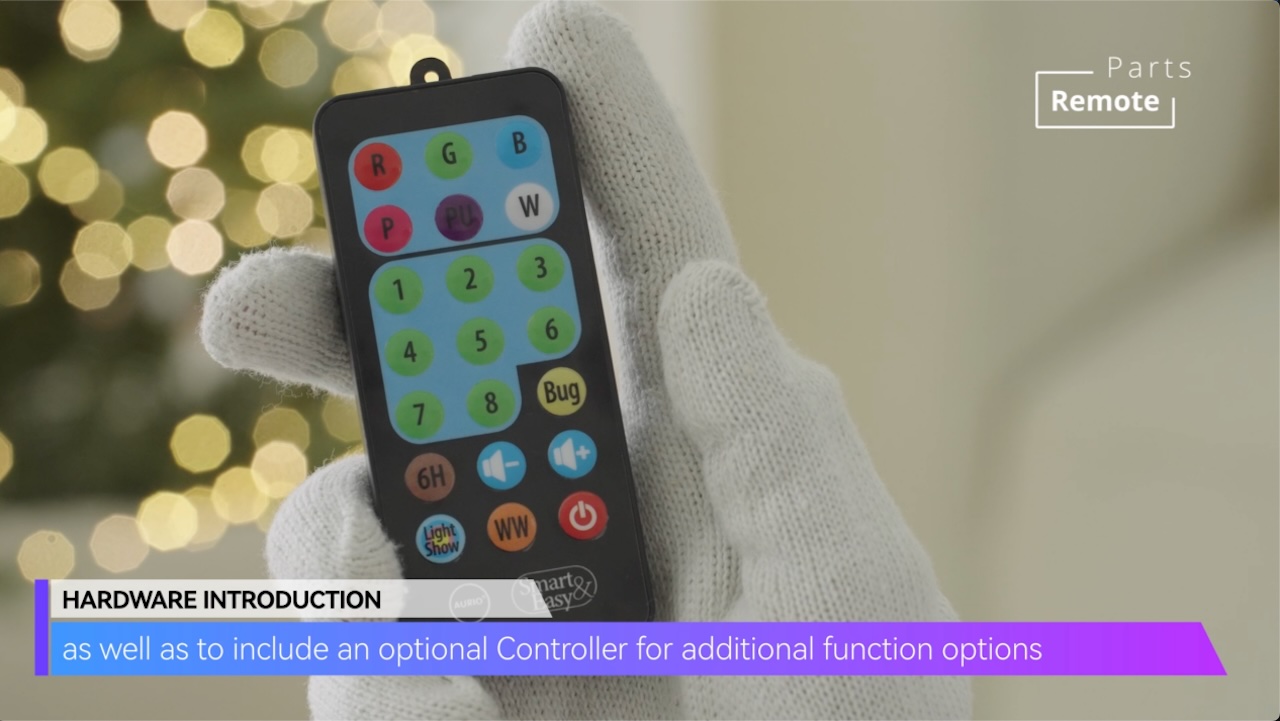
as well as to include an optional Controller for additional function options
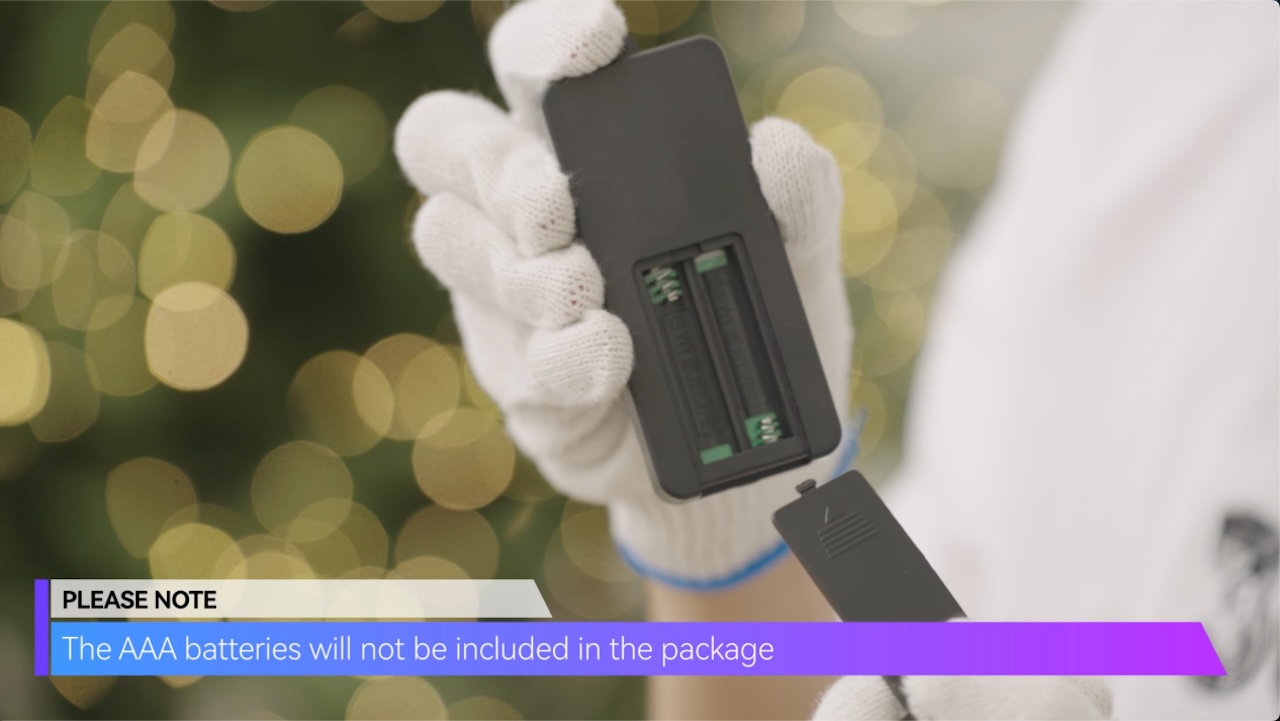
PLEASE NOTE
The AAA batteries will not be included in the package
01 DIRECT REMOTE PAIRING TO LIGHTS
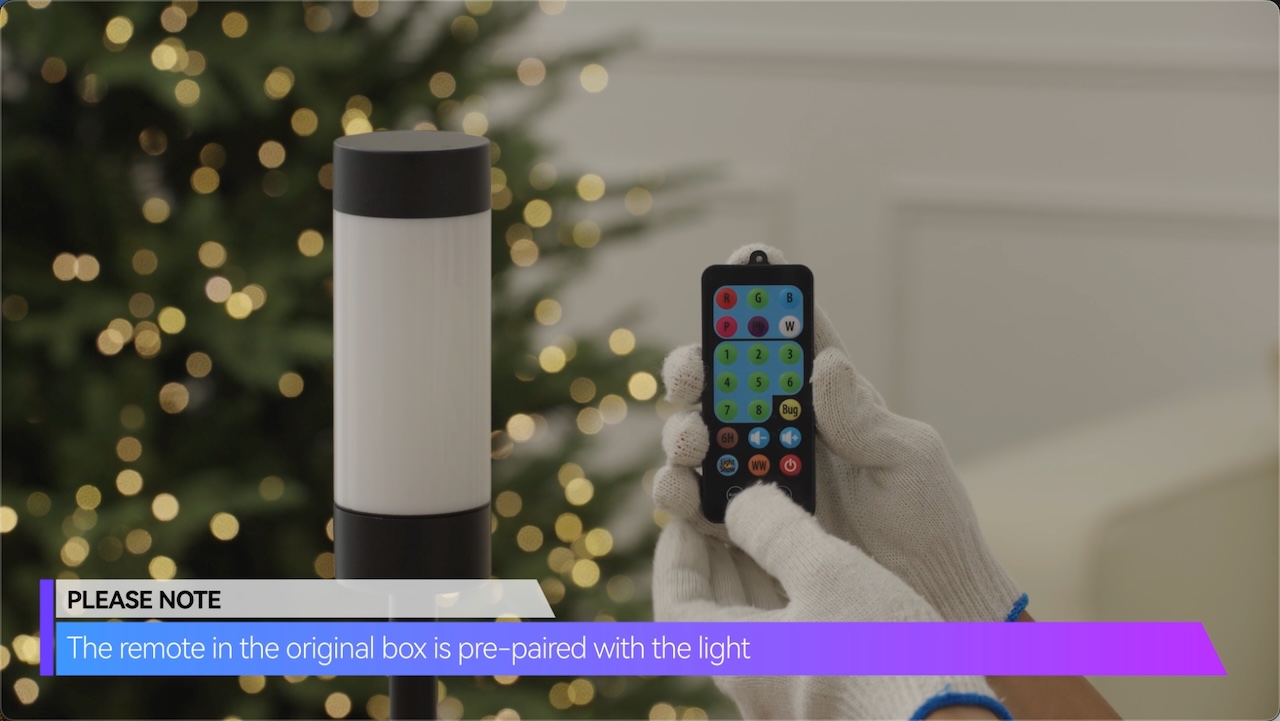
PLEASE NOTE
The remote in the original box is pre-paired with the light
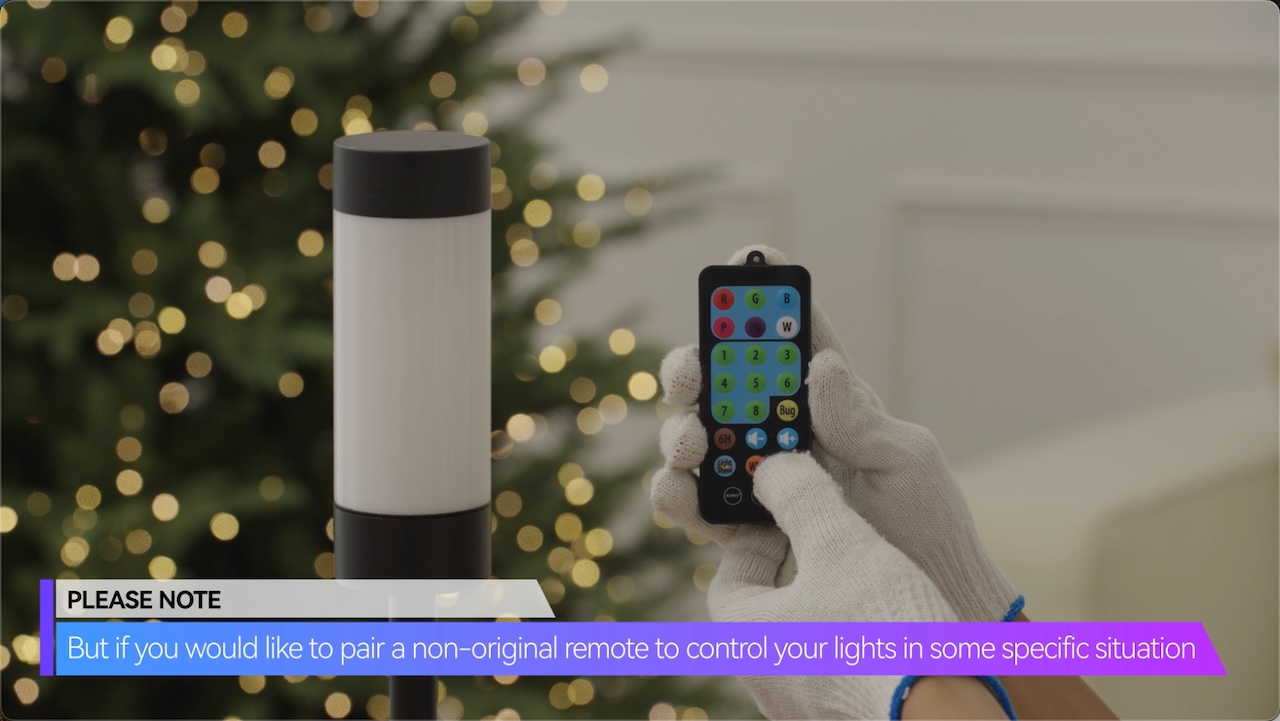
But if you would like to pair a non-original remote to control your lights in some specific situation
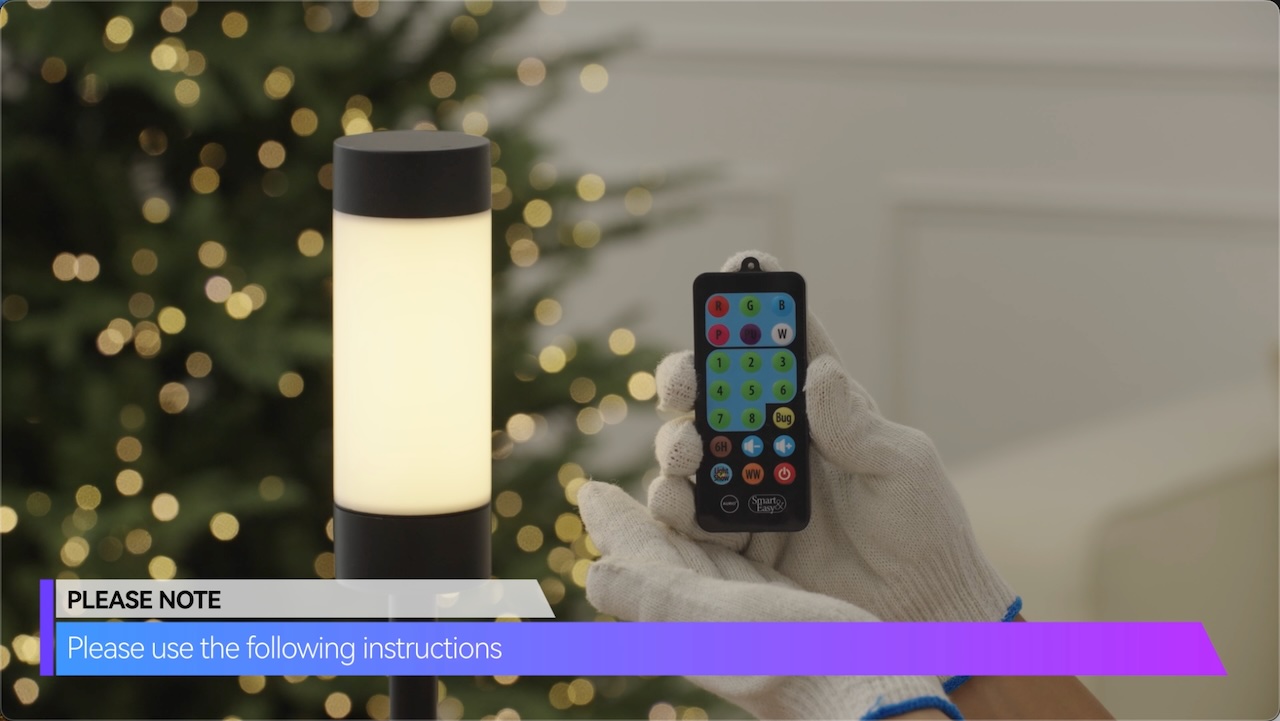
Please use the following instructions
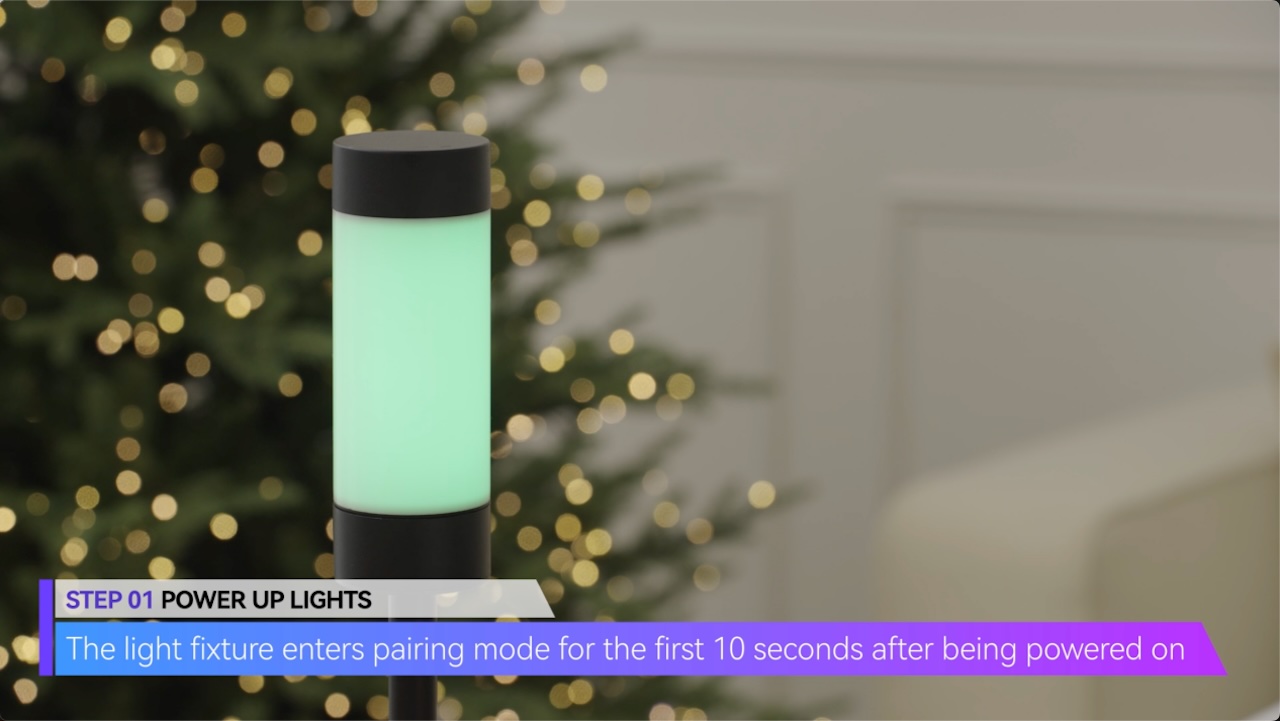
STEP 01 POWER UP LIGHTS
The light fixture enters pairing mode for the first 10 seconds after being powered on
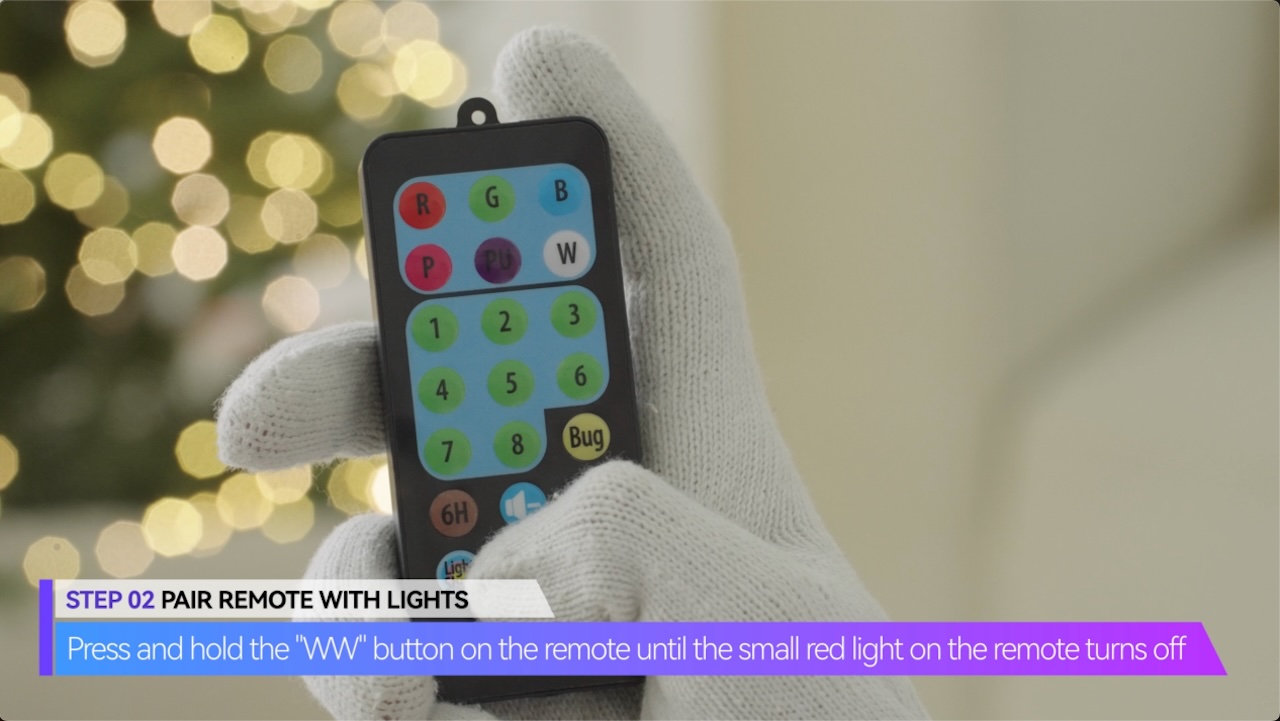
STEP 02 PAIR REMOTE WITH LIGHTS
Press and hold the “WW” button on the remote until the small red light on the remote turns off
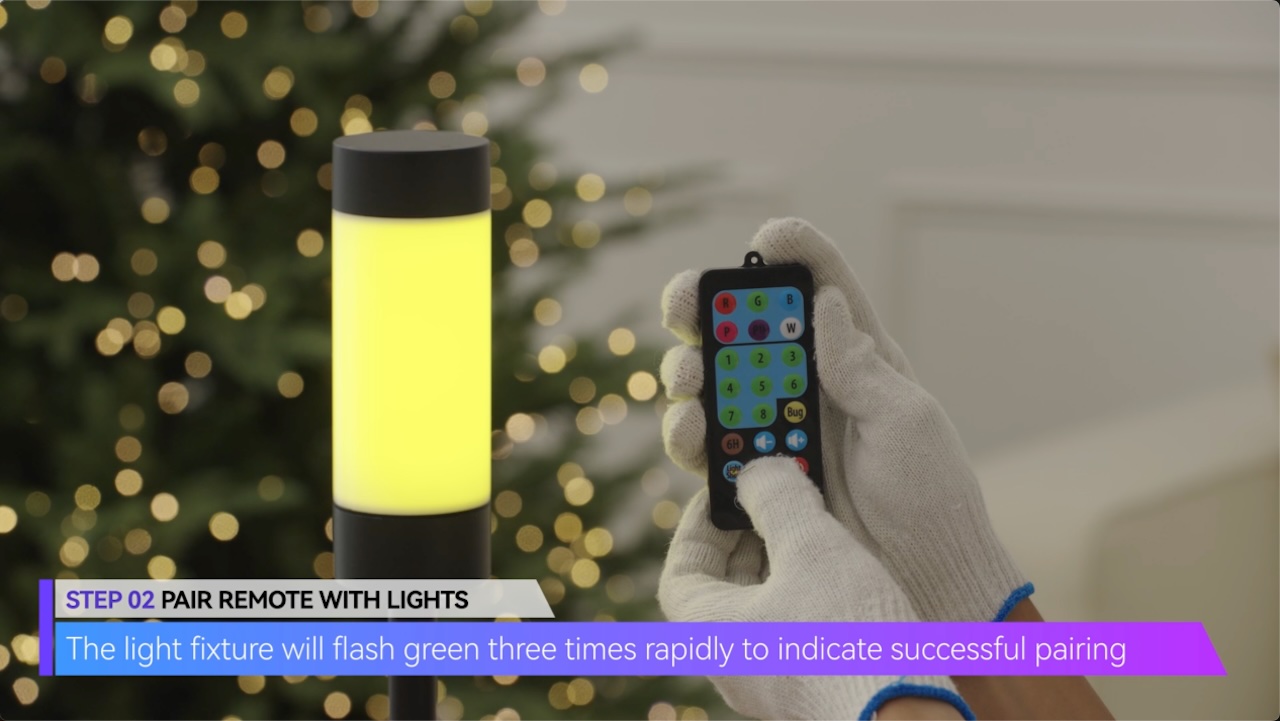
The light fixture will flash green three times rapidly to indicate successful pairing
02 REMOTE + CONTROLLER PAIRING TO LIGHTS
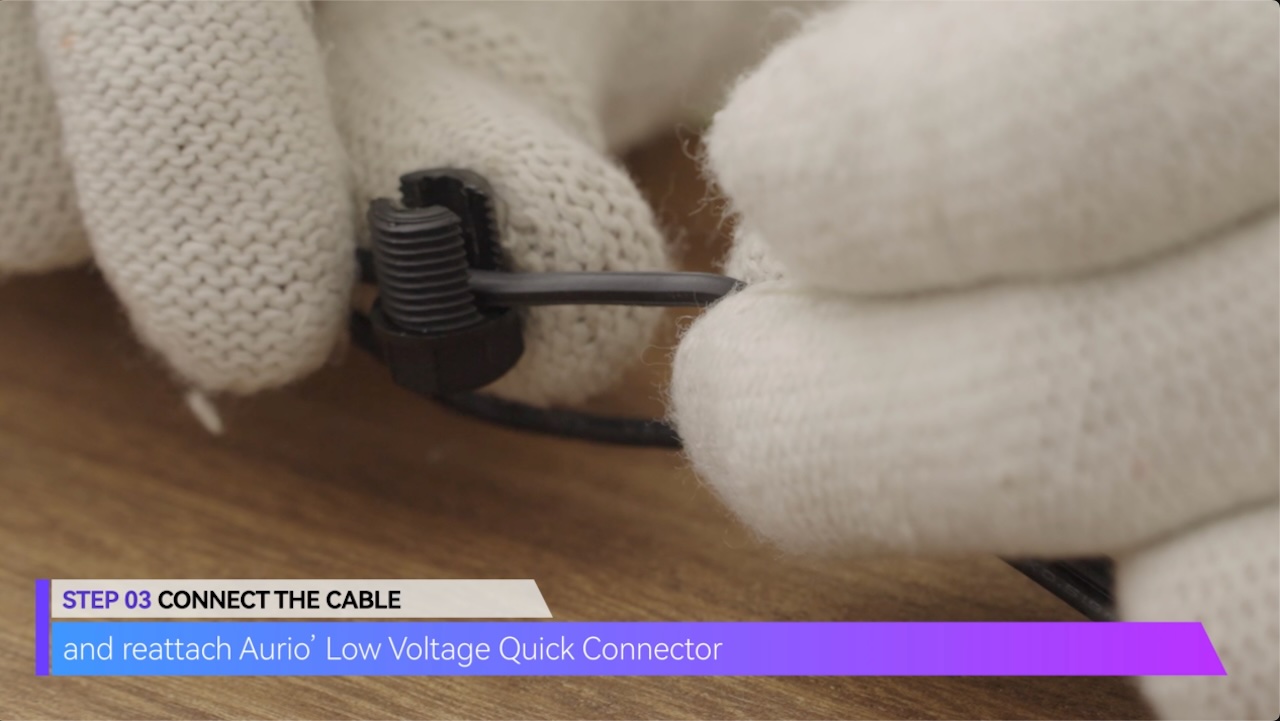
and reattach Aurio Low Voltage Quick Connector
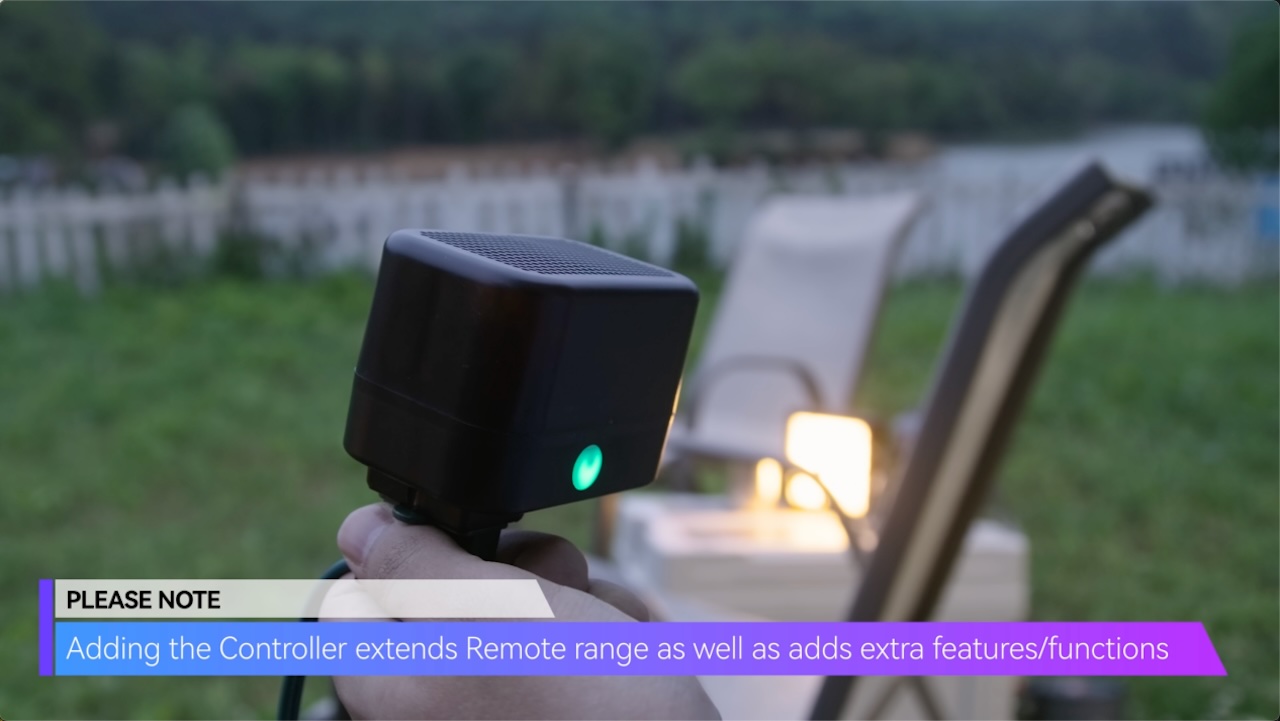
PLEASE NOTE
Adding the Controller extends Remote range as well as adds extra features/functions
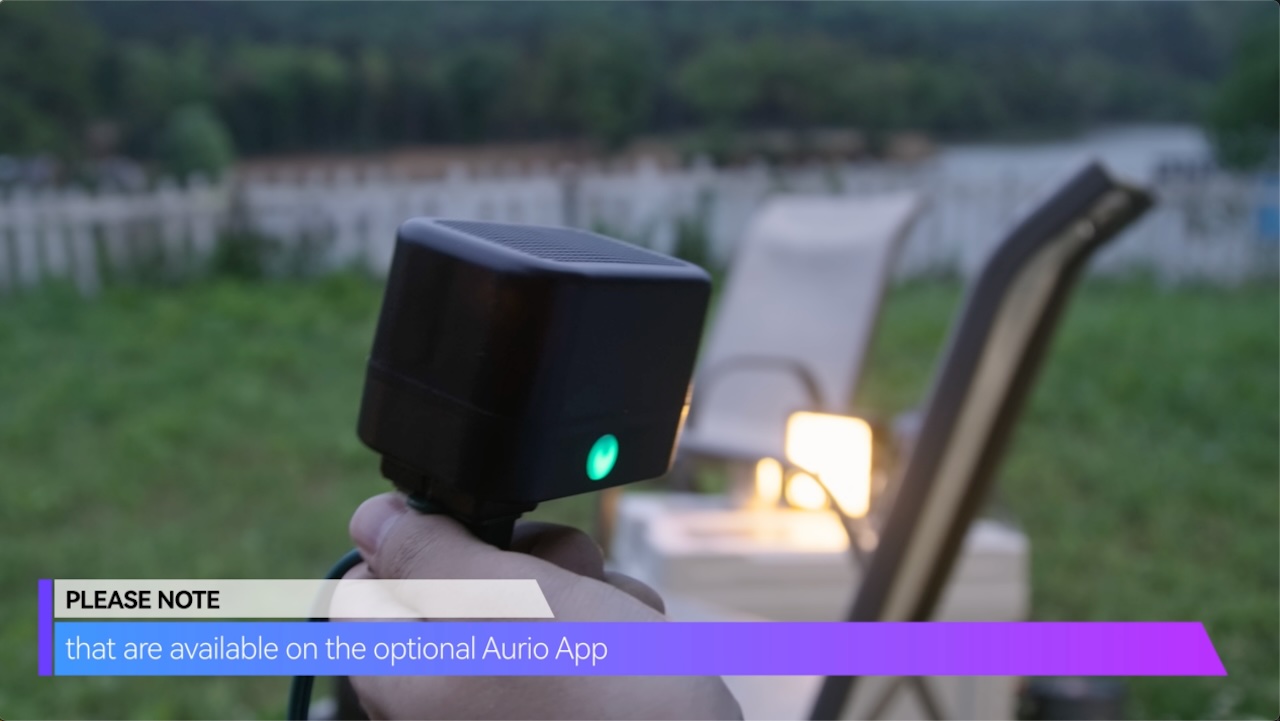
that are available on the optional Aurio App
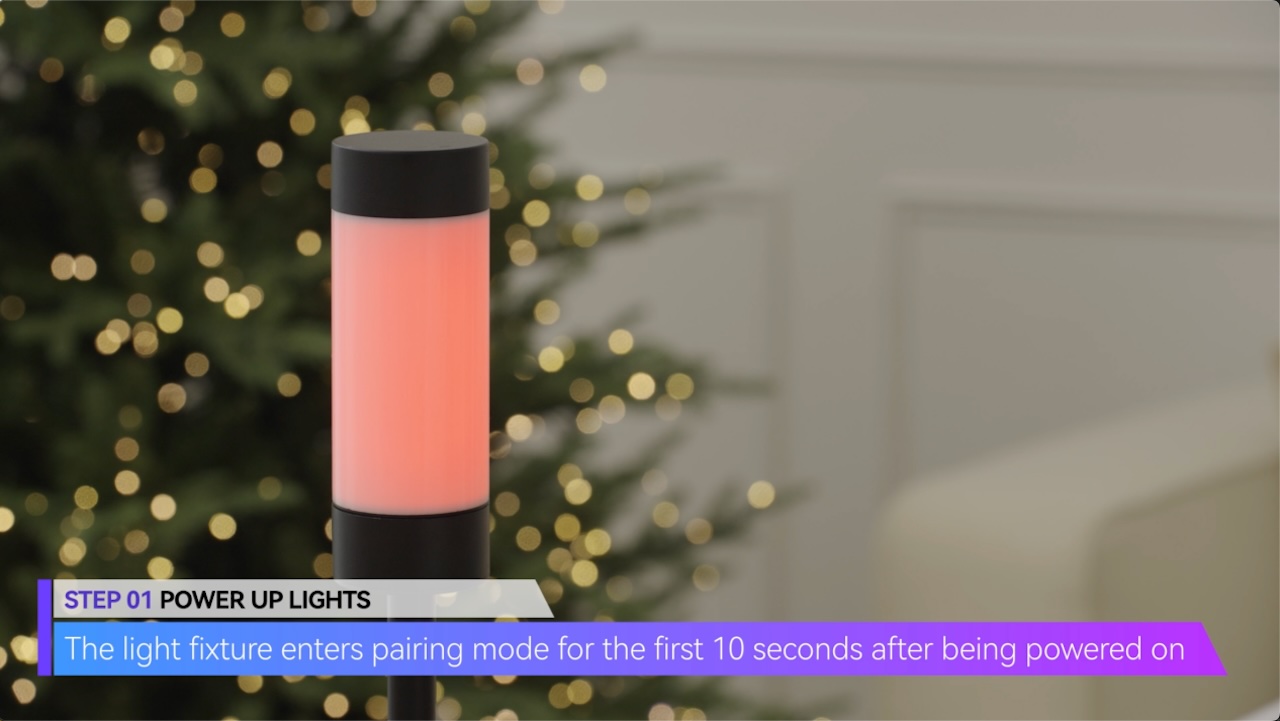
STEP 01 POWER UP LIGHTS
The light fixture enters pairing mode for the first 10 seconds after being powered on
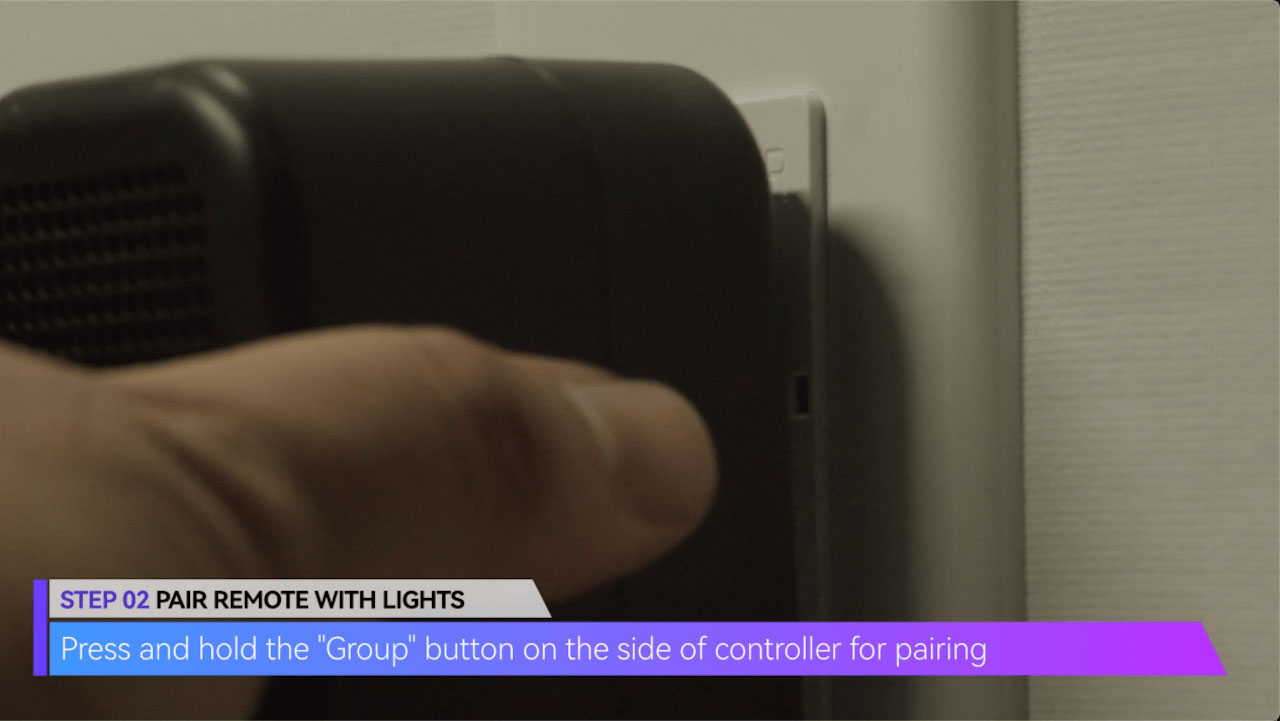
STEP 02 PAIR REMOTE WITH LIGHTS
Press and hold the “Group” button on the side of controller for pairing
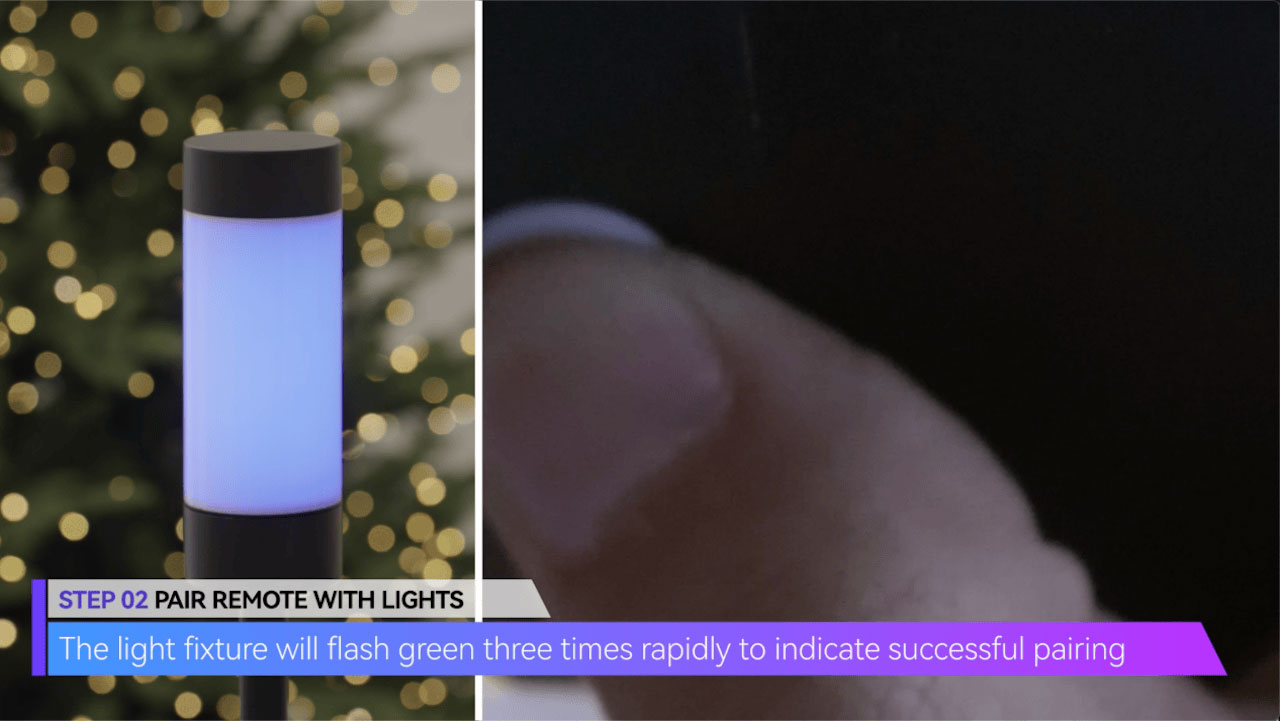
The light fixture will flash green three times rapidly to indicate successful pairing
NOTE
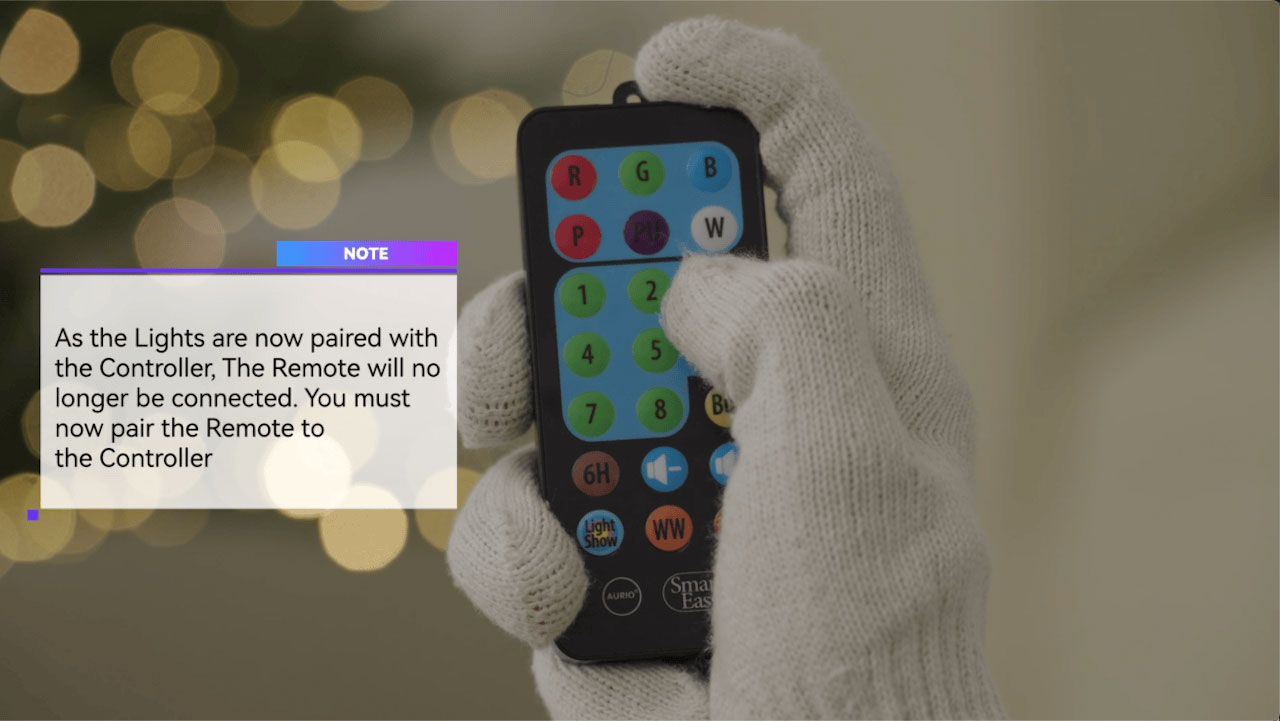
As the Lights are now paired with the Controller, The Remote will no longer be connected. You must now pair the Remote to the Controller
03 PAIRING THE REMOTE TO THE CONTROLLER
NOTE
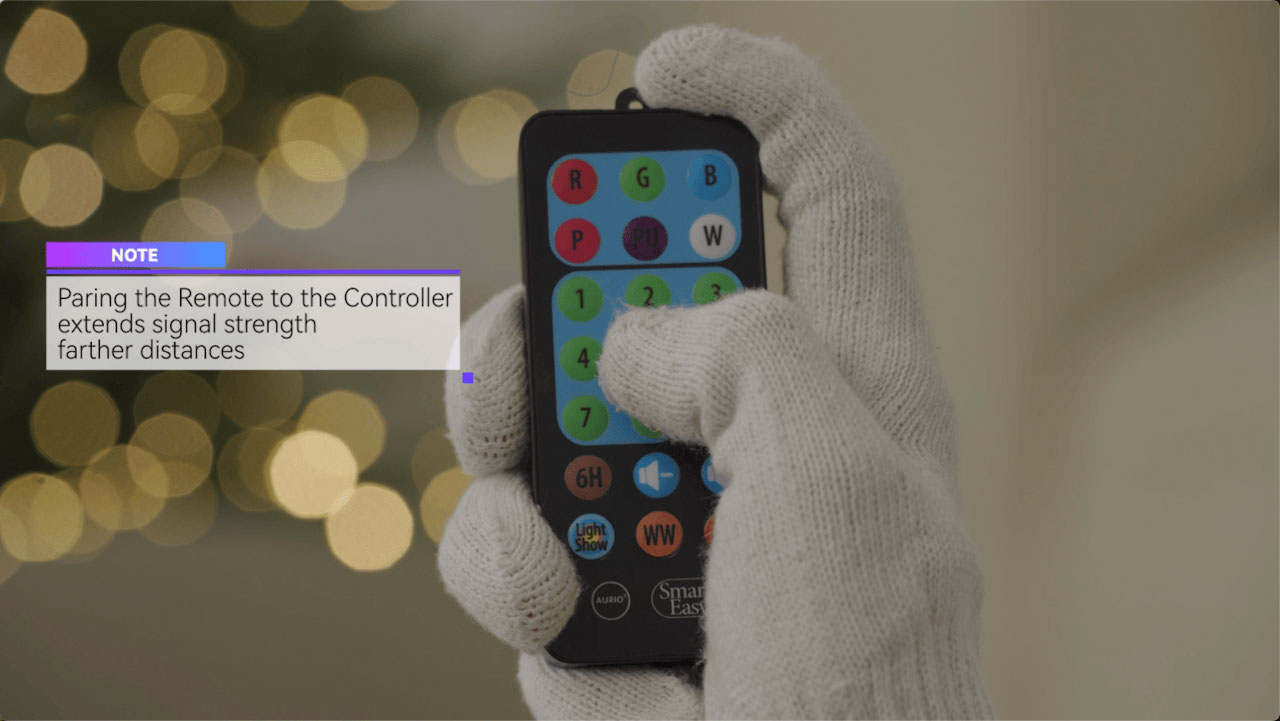
Paring the Remote to the Controller extends signal strength farther distances
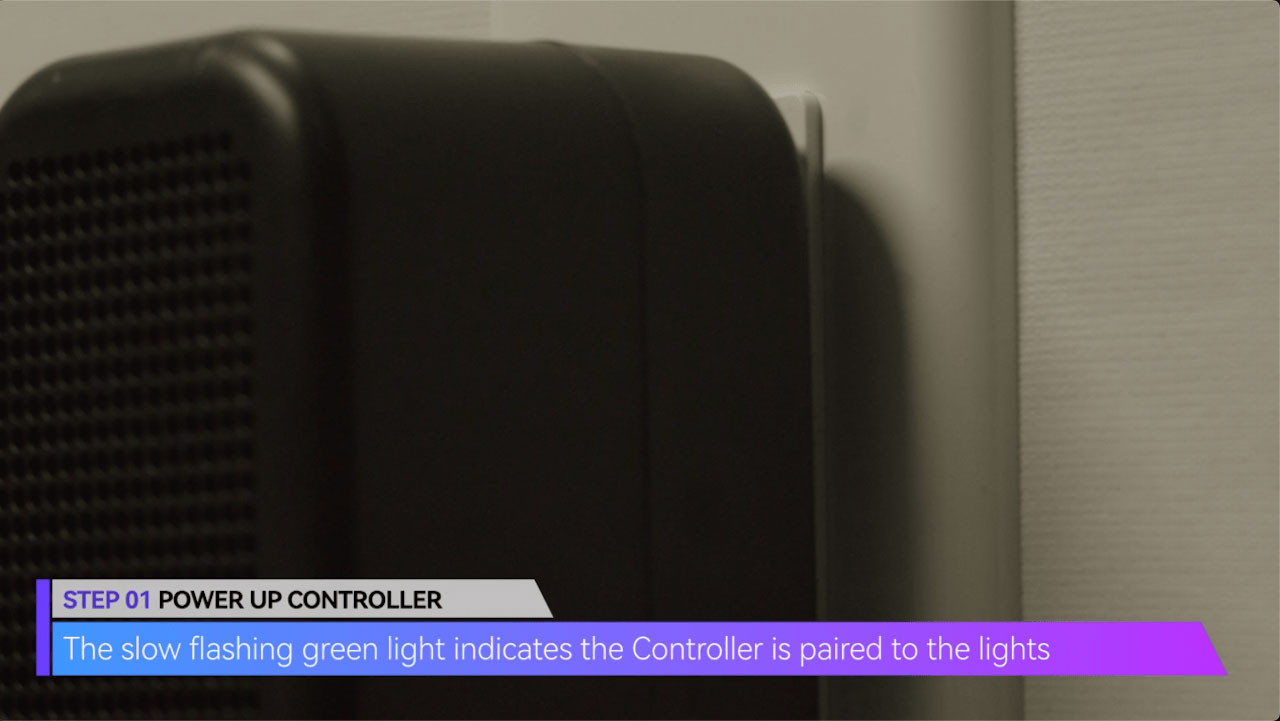
STEP 01 POWER UP CONTROLLER
The slow flashing green light indicates the Controller is paired to the lights
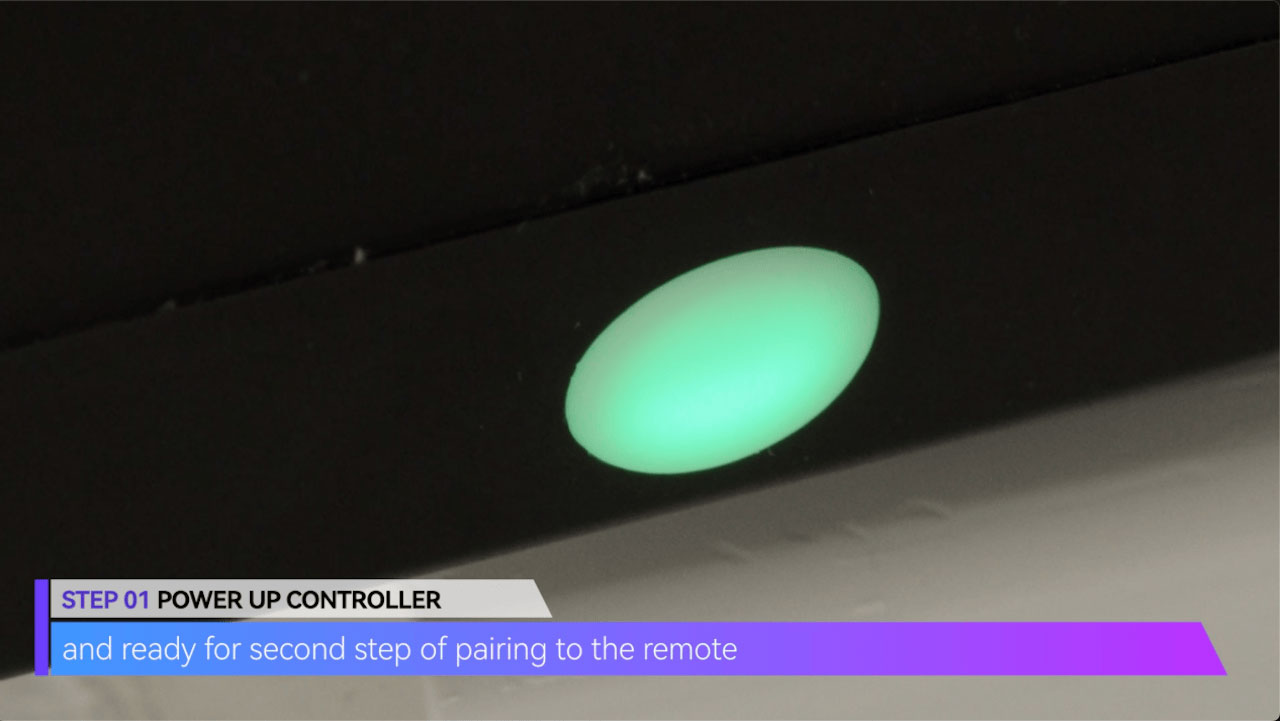
and ready for second step of pairing to the remote
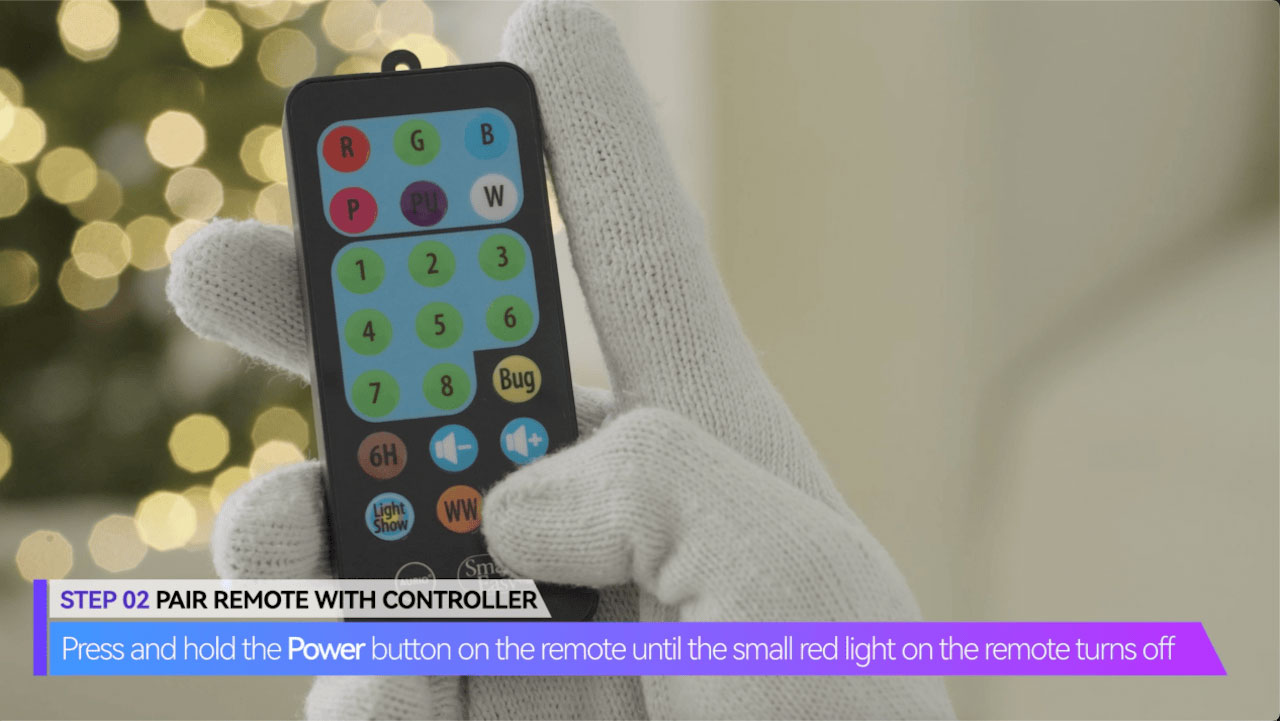
STEP 02 PAIR REMOTE WITH CONTROLLER
Press and hold the Power button on the remote until the small red light on the remote turns off
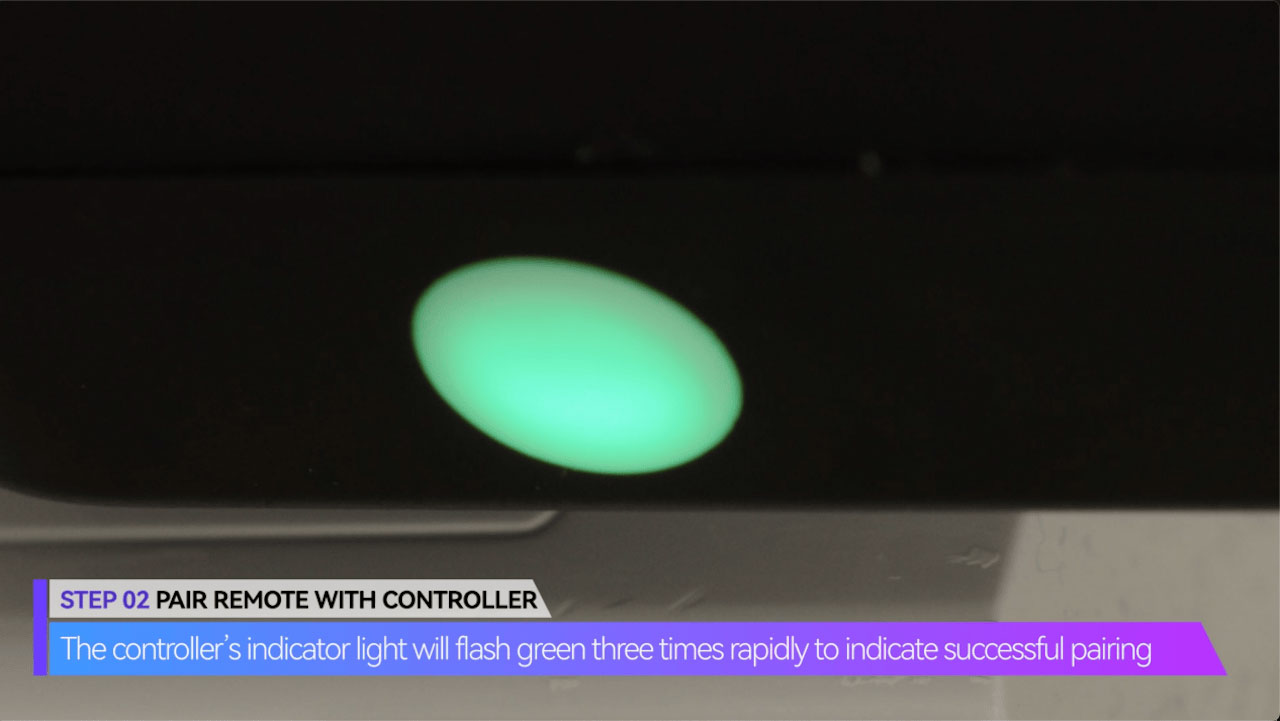
The controller’s indicator light will flash green three times rapidly to indicate successful pairing